
One game-changing feature of EventTexting is the ability to create important text messages and then schedule exactly when they will go out. This can be done days, weeks, or months ahead. These messages can be in the form of important reminders that need to be set out strategically for planned events or marketing promotions to build your business. With just a few simple clicks, organizing and coordinating your messages is fun and exciting.
Follow these simple steps to create your scheduled messages
1. Click on New Message at the top of the Navigation panel
2. Choose your contact, group, or groups
3. Compose your message
4. Choose Schedule for later
5. Input the date and time you want the message sent. You have the option to make this a recurring message. If so, click Schedule Recurring
6. Click review message, at this time you can edit or add recipients
7. Click Schedule Message and you’re done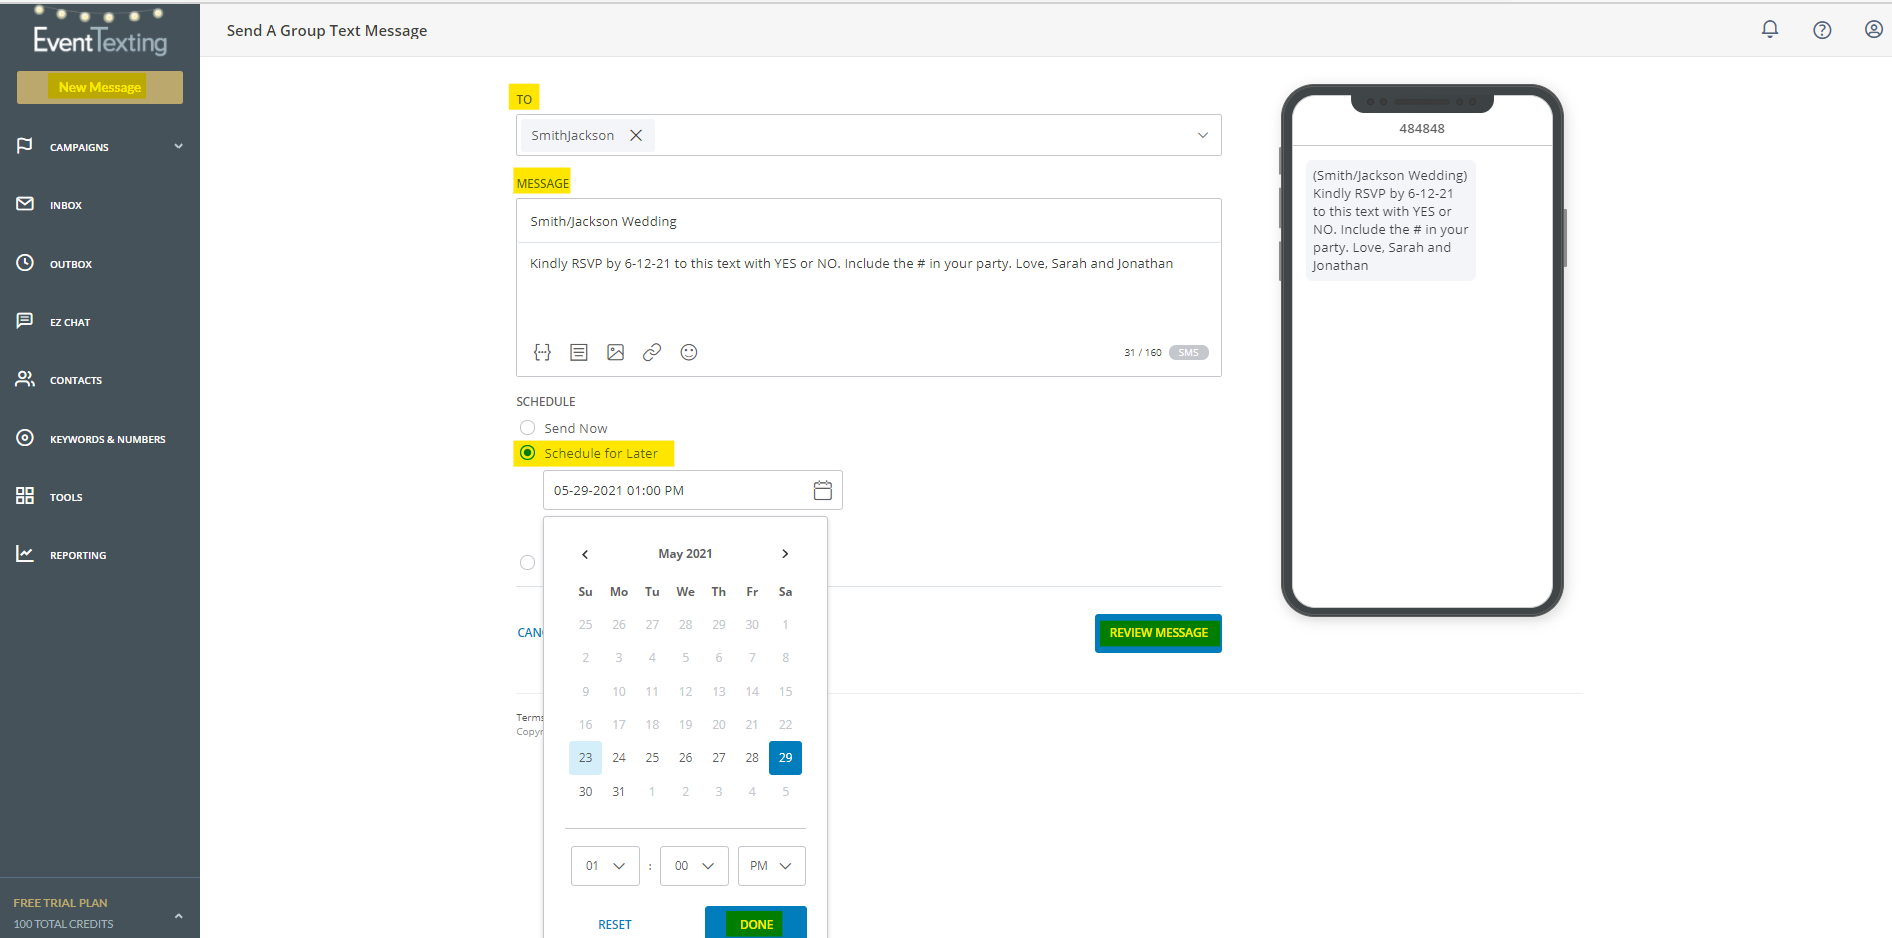
To view all your scheduled messages that have not yet been sent, select Outbox on the left navigation panel and then select Scheduled Texts. All your scheduled messages will appear. You can edit these messages by clicking the Message Details.
Your Dashboard will also show that you have messages scheduled. You can reach the Outbox by clicking on the Scheduled Messages Sent display too.